I used to say, “I am a competitive shooter,” when people asked about my athletic background. This is a simple answer to a simple question, right? Well, I realized that my answer was too broad, considering the several disciplines in shooting sports. It is like someone who practices taekwondo saying they are a competitive martial artist when you ask them about their hobbies. I am sure you would like to know what martial arts they practice.
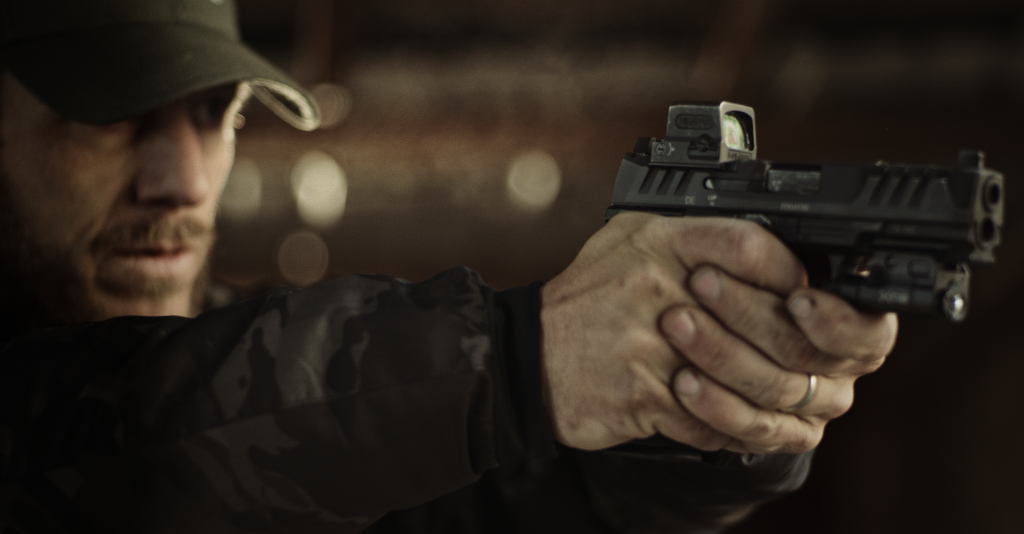
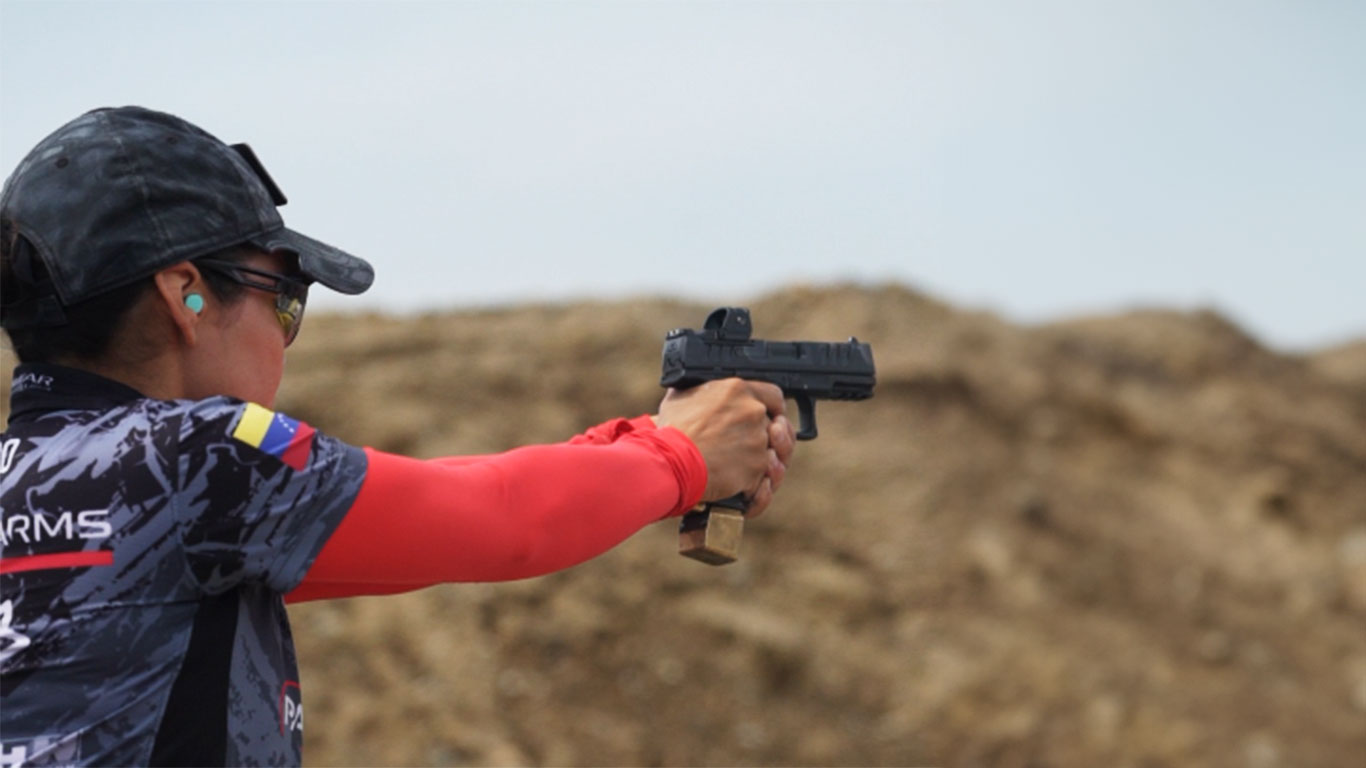
Now, when people inquire about my sport, I say that I am a pistol shooter focused on practical shooting competitions, AKA running and gunning. And, of course, you can picture a big smile on my face, specially when I say “running and gunning.” I have one as I write it down.